
5 Steps to Create Beautiful Acrylic Photo Blocks Online
Don’t we all just love to get our family photos or favourite group photos printed for our walls, desks and bedside tables? Life just becomes instantly more relaxed knowing that your best memories are right there in front of your eyes, especially when the going gets tough.
Well, we usually love to get our unique photos framed, but a new item is making a wave in the market that not only helps you highlight the best moments of your life but also makes them shine like a diamond!
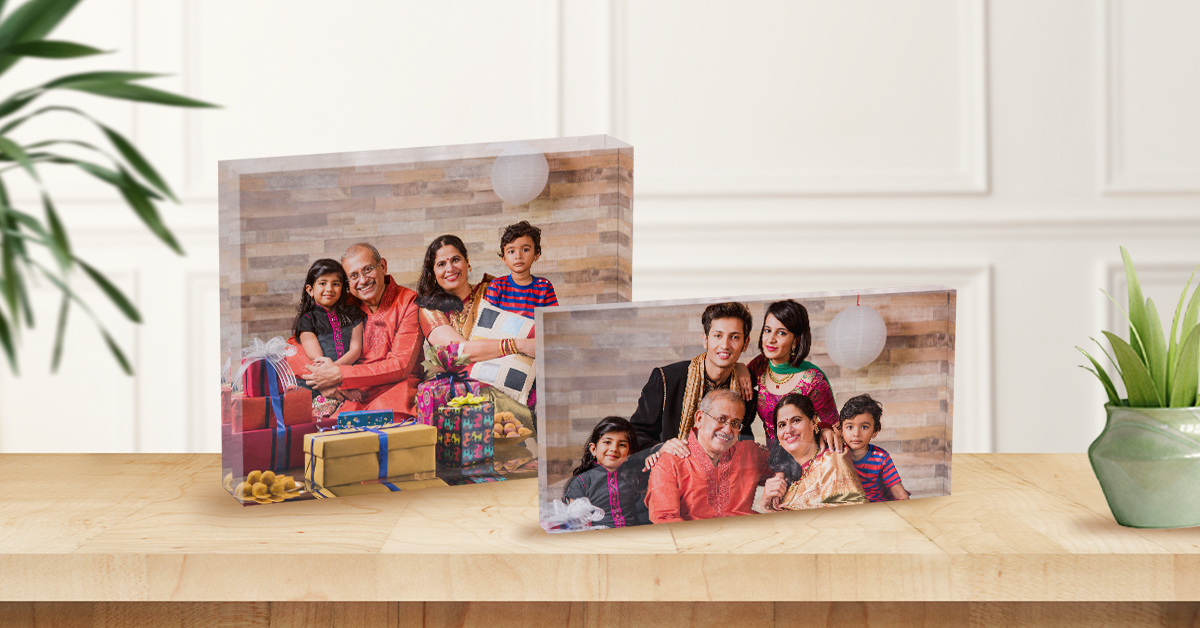
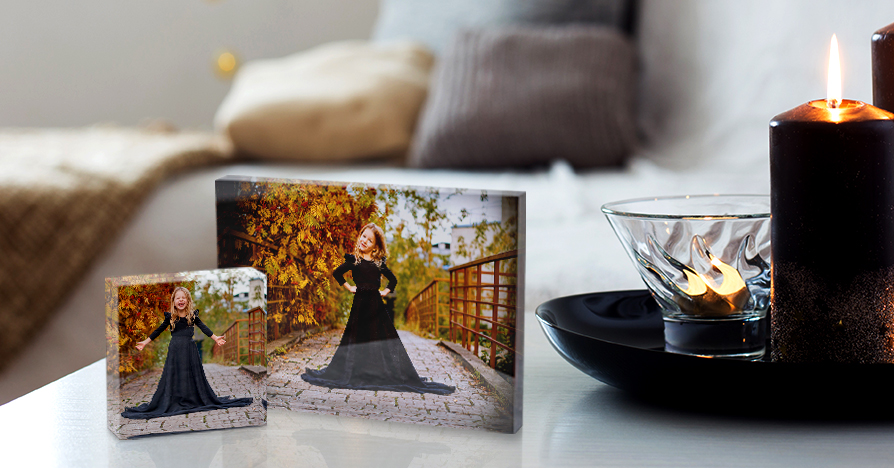
Acrylic photo blocks are one-inch-think plexiglass blocks that look very much like diamond blocks. Your photo gets printed directly inside it and you can place it on your desks, shelves, tables or even on mantles to make your place look more beautiful.
The best part about the photos on acrylic photo blocks is that they shine like a diamond because light gets reflected from all the corners of the block, giving the memories its own spotlight!
CanvasChamp has been helping everyone create their own acrylic photo blocks online with various customising options. Here are the steps:
 Step 1: Visit the CanvasChamp website
Go to the ‘Specialty Print’ tab on the top menu bar and select ‘Acrylic Photo Blocks’ on it.
Step 2: Check out the details
The acrylic photo blocks page has all the information for you to check out from which you can decide what to print on it before you start to customise.
Step 3: Select Size, Paper & Base
On top of the page, select a size, paper and base option to get your customising started with. Notice how the price changes with each different options you choose? It is there to help you make the right choice but don’t worry, you can still change on later if you wish. Click on ‘Start Order’ to redirect you on the design tool.
Step 4: Customise
The design tool process has a lot many options to help you personalise your photos on acrylic photo blocks. Through various options such as size, layouts, text, clip art, etc., you can easily edit your photos on a 2D view of the acrylic block to give you a fair estimate on how the blocks would actually look like once you receive them.
Step 5: Add to Cart
After personalising your photos, once make sure everything is just as you want before you click on the ‘Add to Cart’ button on the top right corner to go to the checkout page. Pay securely online, and the acrylic photo block will get delivered to you at your doorstep in a few days!
Its time that you get to decorate even the table surfaces of your home to make your place feel more personalised with your very own photos on acrylic photo blocks! Check out CanvasChamp for more details and other such personalised home decor products.


